The Empty Wall Is the Cheapest Extension: Storage That Belongs in a Small Shed

Photo: Basile Morin, CC BY-SA 4.0, via Wikimedia Commons
A 6x4 shed gives you roughly 2.2 square metres of floor and about 5.5 square metres of wall, minus the door and whatever window you have. Yet most of us spend years treating the walls as a backdrop for cobwebs while the floor fills up with bags of compost, half-used paint and a strimmer that has seen better days. The wall is the part of a small shed you have not used yet. It is also the part most likely to be ruined by a careless screw.
Start With a Wall You Can Trust
On a timber shed, the cladding is weatherproofing, not a load-bearing surface. Behind it are studs, usually at 400mm or 600mm centres, and sometimes a sheet of OSB or ply. A screw into shiplap will hold a trowel. It will not hold a shelf of paint tins, and in a few seasons it may hold water instead.
Find the framing before you drill. A magnet run across the wall will find screw heads; tapping with a knuckle will find the duller, denser spots. If your shed has a ply or OSB lining, fix a batten across two studs and hang from that. Metal sheds are a different puzzle: the steel is thin and the vertical ribs are not studs. You can add a plywood backer fixed to the frame, but do not expect the cladding alone to carry shelves. Plastic sheds are best left to freestanding shelving units that transfer weight to the floor.
The working rule: anything heavier than a couple of kilos goes into framing, or into a backer board that spans at least two studs. Everything else is decoration with a job.
The Gap That Keeps Things Dry
It is tempting to screw a shelf tight against the wall and call it done. Resist. In a UK shed, the inner face of the cladding can be the coldest surface in the building. Warmer air from you, your tools and a bit of afternoon sun meets it, and condensation forms. If you fill the gap with brackets and stored clutter, you trap that moisture against timber and whatever is sitting on the shelf.
Stand storage off the wall by 20-30mm using treated battens or spacers. Air can move, surfaces can dry, and your shelf does not become a damp sandwich. Keep 100mm clear at floor level and do not block any vents. Avoid MDF in an unheated shed, and do not press cardboard boxes directly against the wall; they will quietly soften and then fail. Plastic crates with a gap behind them, or wire shelves, are kinder.
If your shed has a breather membrane behind the lining, treat it as sacred. Do not puncture it with screws. Fix battens to the studs, not through the membrane.
French Cleats: The System That Earns Its Keep
French cleats are two 18mm plywood strips ripped at 45 degrees. One is fixed horizontally to the wall studs; the other is fixed to the back of a shelf, box or tool holder. The upper strip hooks over the lower one, spreading the load across several studs and letting you rearrange the whole wall without making new holes.
Cut the 45-degree bevel carefully and fix the wall cleat with screws every 300mm into studs, or into a backer that spans them. Use screws long enough to bite, typically 4x40mm or more, and pilot-drill to avoid splitting. A metre of cleat fixed into two good studs might take 20-30kg if it is fitted well, but treat that as a ceiling, not a target. Use two cleats for a wide shelf, and keep the cleat line somewhere between 1.2m and 1.5m so you can actually lift things onto it. High cleats in a low shed are a false economy; you will need a step stool to reach the thing you use most.
Brackets, Rails and Hooks, With Limits
Shelf brackets should be shallow in a small shed: 200-250mm deep is plenty. Deeper shelves block daylight, catch your shoulder and turn a narrow walkway into a squeeze. Fix each bracket into a stud or a plywood backer, not just the cladding. A 1.2m shelf on three brackets can hold paint tins and small boxes, but distribute the weight and keep the heavy items low and over a stud.
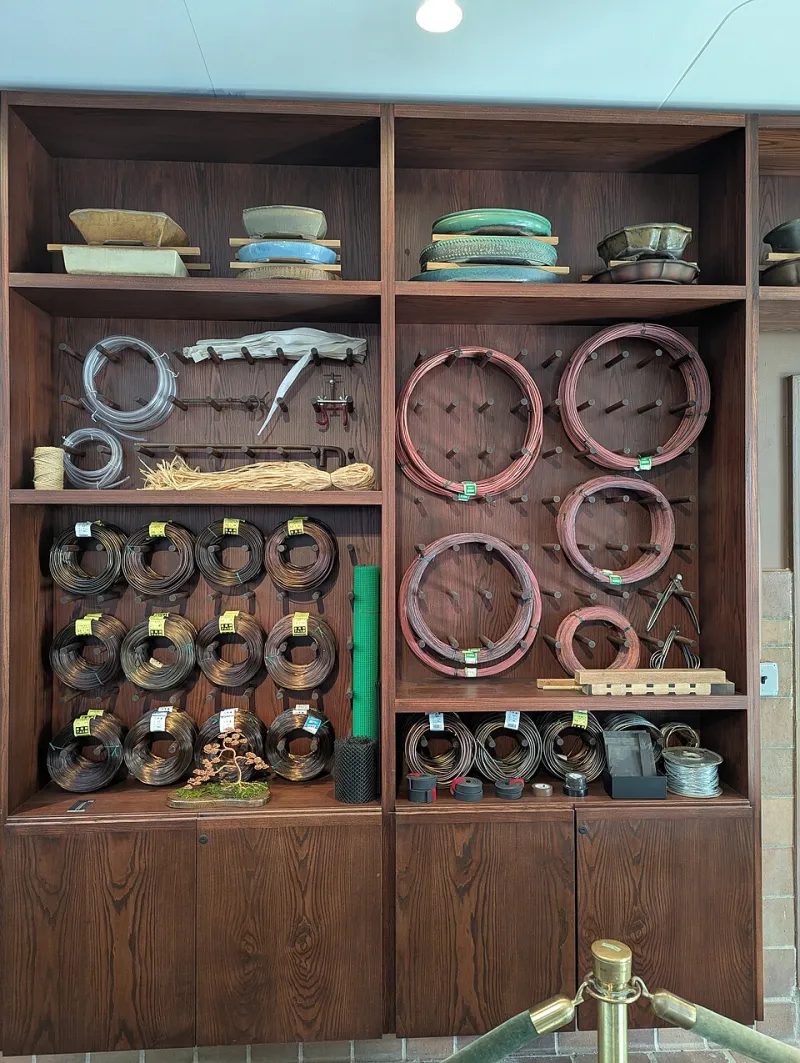
Hook rails are the cheap win. Fix a treated batten into the studs, then screw hooks into the batten. They are excellent for hand tools, extension leads, drained hoses and lightweight ladders stored horizontally. They are not excellent for a chainsaw hung by one cup hook, or a hose still full of water. Assume 5kg per hook unless you have through-bolted into solid timber, and use twin hooks for anything awkward.
Clearance matters as much as fixing. Leave 300-400mm in front of a shelf for your hand and the tool handle, and keep a hook rail 100-150mm above a workbench so you can lean tools against it without leaning your head into them. In a 6x4, you may only have 400mm of clear path. Do not eat it with a shelf that sticks out 350mm.
What Belongs on the Wall, and What Does Not
Good wall residents: hand tools, clamps, seed trays, small boxes, cords, drained hoses, folding chairs, lightweight garden tools. Bad wall residents: paint, gas canisters, petrol, heavy tool chests, bags of compost, and anything that hides a damp patch. Paint and fuel should not be stored in a shed that freezes. Heavy things belong low and over structure, not at shoulder height where gravity has the advantage.
Also keep the door swing, window and vents clear. A shed that is beautifully organised but impossible to enter has not been improved.
A Fit-Out Order That Stops Regret
Empty the shed, sweep it out, and check for leaks or damp before you add anything. Mark the studs. Fit horizontal battens or cleats at two heights. Add a plywood backer in one bay for hooks. Put the heaviest items low and over studs. Leave the 30mm air gap behind shelves. Then push down on every shelf and wiggle every hook before you load it. If it moves now, it will move more later.
Wall storage is the cheapest extension a small shed can have. It only stays cheap if the fixing is right. Do less, fix it better, and leave the wall room to breathe.