Warm Without the Wet: Insulating a UK Shed So It Can Still Breathe

Photo: Tdorante10, CC BY-SA 4.0, via Wikimedia Commons
There is a particular kind of disappointment that comes from a freshly insulated shed. You have spent a Saturday cutting boards, taping joints and hoovering up offcuts; the space feels snug for a fortnight; then a February morning arrives, you open the door and the foil on the back of the boards is furred with water. Nothing was fitted badly. The shed was simply asked to do something it was never designed to do — hold warm, damp air against a cold surface and stay dry.
Insulating a shed is not difficult. Insulating one so that it survives a British winter is a slightly different job, and it comes down to two questions: where does the moisture in the air go, and where does the dew point land?
A shed is a box with thin walls and no help
A house has a cavity, a damp-proof course, a heated envelope and a stack of building regulations behind it. A garden shed has 12mm of tongue-and-groove cladding, a felt roof and whatever air happens to move past it. It also sits in the dampest part of the garden, often on the north side, often over soil.
So moisture arrives from three directions: driven rain finding its way past cladding and fixings, damp rising out of the ground or through a timber floor, and the ordinary water vapour produced by a person, a kettle, a damp lawnmower or a paraffin heater. That last one is the sneaky one, because it is invisible and it is warm, so it drifts outward until it hits a cold surface and condenses.
The rule to hold onto: warm air carries vapour, vapour travels from warm to cold, and it condenses on the first surface cold enough to do the job. Everything else in this article follows from that.
Two honest routes, and why mixing them ruins both
There are two coherent ways to build a warm shed. Pick one and commit.
Sealed. You put a continuous vapour control layer on the warm side — usually the foil face of PIR board, with every joint and edge taped, plus care around services and the wall/floor and wall/ceiling junctions. The vapour never gets into the structure in the first place. This is a heated-workshop route.
Breathable. You use vapour-open materials — wood fibre, sheep wool, hemp, wood wool boards — with no vapour control layer, a breather membrane on the cold side where the design allows it, and reliable ventilation above and below. Vapour drifts through the insulation and dries outwards. This is the right route for an unheated or occasionally heated shed.
What fails is the hybrid: half a vapour barrier, foil bubble wrap stapled up with gaps, mineral wool pressed against the cladding with no gap and no vent. That arrangement keeps the vapour out of the room just enough to let it sit inside the insulation pack, where it cools and condenses and stays. You have effectively built a damp sandwich and closed the lid.
Retrofitting a sealed build, in the order it needs doing
If your shed is a decent timber frame and you intend to work in it through winter with some form of heat, the sealed route makes sense. The sequence matters more than the materials:
- Fix water ingress first. A leaking roof or a rotten cill defeats any amount of insulation.
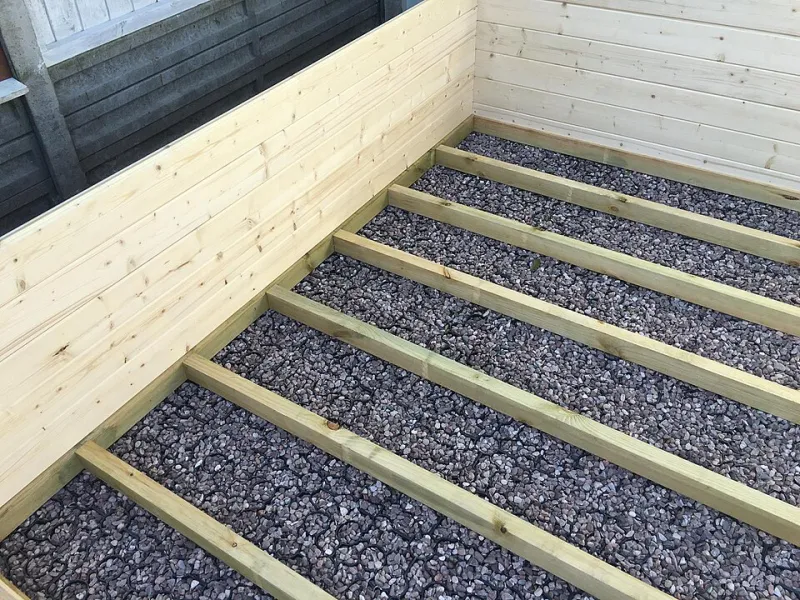
- Deal with the floor. Cold comes up as readily as it goes out, and 25mm of rigid board under a floating floor or a rug on a well-sealed deck makes more difference than another 25mm in the walls.
- Insulate the ceiling before the walls. Warm air collects up there, and a bare felt roof is a condensation magnet.
- Fit rigid boards between studs, cut snug rather than gappy, without compressing them.
- Tape every foil joint, including the awkward ones. A vapour barrier with a 5mm gap is a vapour barrier with a hole in it.
- Ventilate anyway. A sealed shed still needs controlled air movement, usually a high-level vent on one gable and a low-level vent on the opposite side, both with insect mesh and both able to be closed in foul weather.
Buy a cheap hygrometer. A tenner spent on one tells you more about your shed than a season of guesswork, and 60% relative humidity is a warning rather than a target.
The breathable route suits more sheds than people expect
For an unheated shed, a store that doubles as a potting space, or a workshop heated only when you are in it, breathable is the safer build. Wood fibre boards cost more per square metre than mineral wool and take up more depth, but they buffer moisture rather than trapping it, and small errors are far more forgiving.
Performance-wise, keep the trade-offs in view: 50mm of PIR does roughly the work of 100mm of mineral wool, which does roughly the work of 130mm of wood fibre. If your shed is a 6x4 with a mower in it, that depth is not available, and pretending otherwise is how people end up with an unusable room.
Two things people get wrong on this route. First, they add a plastic sheet 'just to be safe', which converts a breathable wall into a non-breathable one with no taped joints. Second, they lay insulation into the roof space and block the ventilation path at the eaves, so the roof can no longer dry upwards.
Where a retrofit goes wrong, repeatedly
Foil bubble wrap wrapped around the inside of single-skin cladding is the classic error. It looks like insulation, costs little, and puts a vapour-closed layer directly against timber that needs to dry inwards. Mineral wool compressed into a 50mm gap performs far worse than its label suggests. Blocking every vent to stop draughts removes the only drying mechanism the shed has. Insulating a metal shed from the inside without a proper insulated lining system simply moves the condensation to a different sheet of steel. And leaving the door and frame uninsulated gives you a warm box with a cold hole in it.
When insulation is the wrong spend
Not every shed should be insulated, and saying so is part of the job.
If the shed is cold storage — bikes, paint, a wheelbarrow — insulation buys you nothing. If the roof leaks, the base is failing, or the shed sits directly on soil with no damp-proof layer, money spent on boards is money spent on making the eventual repair more expensive. If it is a metal shed with no lining system, condensation will find the steel regardless. And if you are never going to heat it, insulation alone will not keep tools dry; ventilation and a decent dehumidifier will do more.
In those cases, the better order of work is: stop the water, lift the shed onto a proper base, improve ventilation, then consider insulation once the fabric is sound.
The short version
Decide whether your shed will be sealed or breathable before you buy anything. Fix leaks first. Insulate the ceiling and floor, not just the walls. Tape the joints if you go sealed, and never block the vents if you go breathable. Then buy a hygrometer, keep a little low-level heat on a thermostat through the damp months, and let the building dry itself out. A garden building can be genuinely warm in January — it just needs somewhere for the moisture to go.