The One-Metre Rule: Sorting the Ground Around Your Shed Before Winter
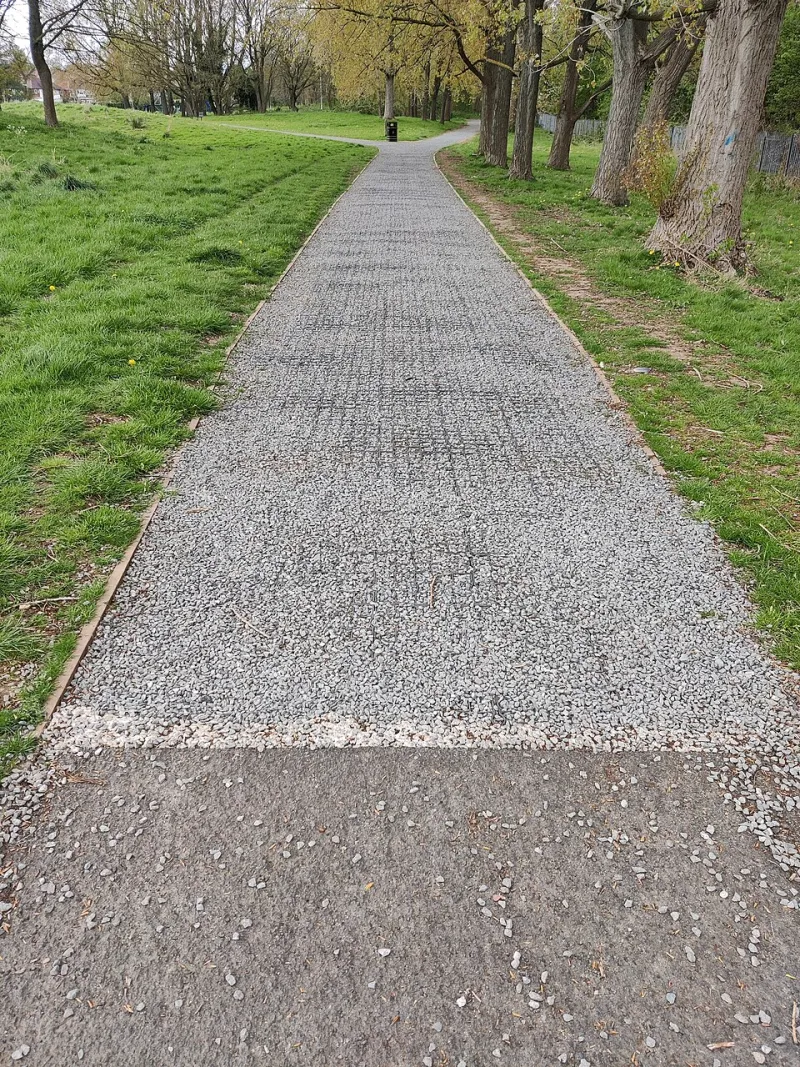
Photo: Andy Mabbett, CC BY-SA 4.0, via Wikimedia Commons
Most garden sheds are bought for what's inside them and then judged by the metre of ground outside the door. From about November, that strip is what decides whether you actually use the building or just look at it from the kitchen window. If it's holding water, the door swells, the base sits damp, and every trip out becomes a small negotiation with mud.
The good news is that this is one of the cheapest parts of a shed project to get right, and one of the most irritating to fix later. Here's how to think about the ground immediately around the building.
Water first, tidiness second
Before choosing gravel or slabs, work out where water goes when it lands. A shed roof can shed a surprising volume — a 3m x 3m roof in steady drizzle is collecting tens of litres an hour. If gutters and downpipes dump it at the base, you've built a small moat.
So look at the fall of the ground. It should run away from the shed, gently — roughly 1 in 60 to 1 in 80 is plenty. Not a visible slope, just enough that puddles don't sit. Then check the downpipe outlets. A water butt takes some, but the overflow needs somewhere sensible: a soakaway, a gravel-filled trench, or at minimum a splash block that spreads it across the apron rather than drilling a hole in the soil.
On clay, this matters more. Water sits on top, and a shed base surrounded by soil piled up against the timber is effectively a slow-motion sponge.
Keep the base line honest
Two numbers to remember: the damp-proof course needs to stay clear of the ground, usually at least 150mm above it, and the ground outside should sit below the floor level, not above it. It's tempting to build up gravel to meet the door — don't. Raise the path, or add a step, but leave the base breathing.
Timber sheds on bearers need air moving underneath. Don't box them in with sleepers tight against the sides, and don't let gravel or soil climb the cladding.
The apron: a metre of something loose
The apron is the strip around the base. A metre is generous, 600mm is workable, and anything is better than bare soil.
Loose gravel is the easy win: 10–20mm shingle or angular gravel, laid over a weed membrane, with an edging to stop it wandering. Avoid pea gravel if you can — it rolls underfoot, migrates into the lawn, and finds its way into door tracks. Angular stuff locks together.
The membrane matters. Without it, you get weeds through in spring and gravel sinking into soft ground within a winter. A woven geotextile is fine; a cheap black membrane will do at a push but tears easily. Cut it to fit, overlap the joints, and turn the edges under the edging.
Keep the finished gravel level a good 25–50mm below the damp-proof course, and don't let it bank up against the cladding. The point is drainage and a clean edge, not burying the bottom rail.
Thresholds, ramps and the small step that catches everyone
There's usually a gap between the door and the ground. That's fine until you're carrying a lawnmower in the rain. Options, in rough order of cost:
- A timber threshold ramp, screwed down, with a slight chamfer. Cheap and effective.
- A paving slab or two set flush to make a small landing.
- A proper shallow ramp, sloping about 1 in 12, if you're wheeling anything in and out.
Whatever you choose, check the door swing and the clearance. And keep any timber ramp treated and slightly off the ground — a ramp sitting on wet soil will rot from underneath long before the shed does.
Paths: continuous or stepping stones?
Stepping stones are the low-effort route. Set them flush with the surrounding ground, 600–900mm apart, on a bed of sharp sand or compacted hardcore. They suit a lawn edge and they're easy to lift and re-set if they settle.
A continuous path is better if you're out there daily, or at night. Gravel with edging works; so does a narrow strip of paving. Avoid loose bark chippings near a door — they're slippery when wet, they float in heavy rain, and they rot into a mush by February.
If the route is dark, think about it now. A couple of solar bollards or a battery light by the door saves a lot of torch-in-teeth moments.
Mats, mud and the last half-metre
The final bit is the easiest to overlook and the cheapest to fix. A decent coir or rubber mat outside the door catches the worst of it; a second, smaller mat inside stops the rest. A boot scraper set into the gravel, or a small grating, earns its keep in a wet winter.
If the shed is a workshop or office, treat the threshold as a transition zone: somewhere to kick off boots, hang a coat, and leave the mud behind. It's a small piece of design that makes the inside feel less like an extension of the garden.
A weekend's order of work
- Clear the strip around the base and check the levels.
- Sort the downpipes and any obvious puddles.
- Lay membrane and edging, then gravel.
- Set the threshold ramp or slab.
- Add the mat, and a light if you need one.
None of it is glamorous. But a shed that's dry underfoot in February gets used far more than one with a prettier door and a mud bath outside it. The ground is part of the building — treat it that way and the rest of the shed has a much easier life.