Before the First Gale: A Shed's Autumn Walk-Round, in Priority Order
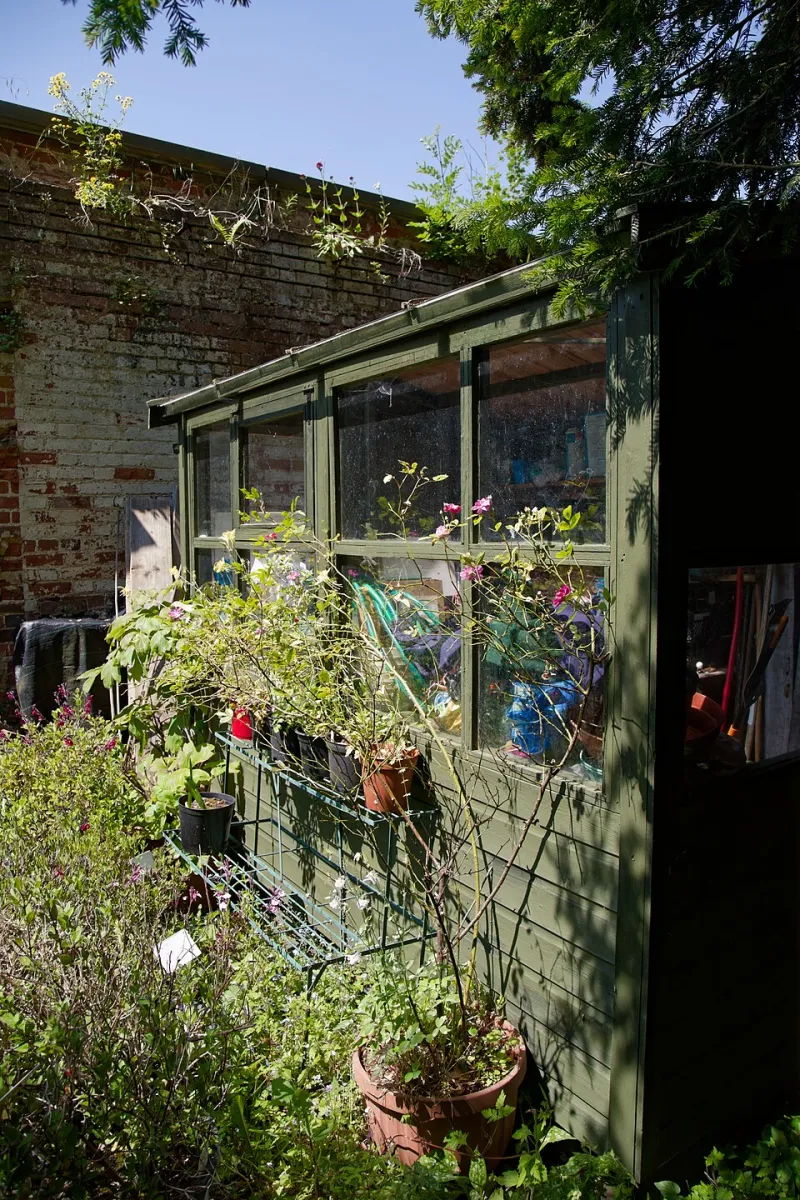
Photo: Acabashi, CC BY-SA 4.0, via Wikimedia Commons
There's a moment in late October when a British garden changes its mind. The light goes flat, the wind picks up from a different direction, and the shed that has been quietly minding its own business since May starts to creak a little more than it used to. That's your cue.
What follows is a walk-round, not a restoration project. The aim is to spend an afternoon finding the handful of things that will genuinely cost you money if they're left alone until February — and to be honest about which of them you can sort yourself and which need someone with a nail gun and a van.
Kit worth having in the wheelbarrow
A torch (even in daylight, you'll be poking it into corners), a flat pry bar or scraper, a ladder that you actually trust, a notepad, and your phone for photographs. Add a tube of exterior sealant, a pack of galvanised clout nails, and a roll of flashband if you have some kicking about. Nothing here is specialist. The point of the afternoon is diagnosis first, repair second.
Step one: walk the roof line before you climb anything
Stand back. Way back, ideally at the far end of the garden. You're looking for the roofline sagging in the middle, tiles or felt that have lifted at an edge, and any patch that looks a different shade from the rest — that's usually where water has been sitting.
On the felt itself, the two failures that matter are splits along a ridge or fold, and nails that have backed out and left a small hole with a rust halo around it. Both are afternoon jobs: a patch of self-adhesive flashing over a split, a fresh clout nail and a dab of sealant over a lifted fixing. If the felt has gone brittle across a whole panel — you'll know because it cracks rather than flexes when you press it — that's a re-roof, and it's worth a quote.
Step two: gutters, downpipes and the ground beneath them
This is the single most neglected bit of a garden building and the cheapest to fix. Clear the gutter run by hand, then flush it with a watering can. Check that the downpipe actually discharges somewhere sensible. Nine times out of ten it dumps water against the base, which is how you get the damp patch you'll find at step four.
Five-minute fix: clear the run, add a shoe or a length of pipe to push water away, and rake the ground so it falls away from the shed rather than towards it.
Step three: the corners and the bottom rail
Corners fail first. Run your hand along the bottom rail of each wall — the horizontal timber just above the base. Softness, flaking paint with dark timber beneath, or a screwdriver that sinks in easily all mean water has been sitting there. Probe gently in three or four places per wall.
If it's one small patch, dry it out, treat it and repaint. If the bottom rail has gone along a whole elevation, or the panel feels spongy when you press it, that's a carpenter's job and probably a section replacement. Don't bodge this one with filler; it's structural.
Step four: the damp you can smell before you see
Open the door and stand still for a moment. A shed that smells of wet dog on a dry day has a ventilation and moisture problem, not a mystery. Look for tide marks on the floor, dark patches behind shelving, and condensation on the inside of the roof felt — that last one is normal overnight but shouldn't still be there at two in the afternoon.
Step five: ventilation, the fix everyone skips
Most timber sheds are effectively sealed boxes. Two things solve most of it: keep a gap between stored goods and the walls so air can move, and add a vent or two at opposite ends so it can actually flow. Louvre vents are a few pounds each and take ten minutes with a hole saw. If you're storing anything with fabric, cardboard or tools in there, this is the best value improvement you'll make all year.
Step six: doors, hinges and alignment
A door that has started catching at the top corner is telling you the frame has moved, usually because the base has settled or one corner is holding water. Check the diagonal measurements across the door opening — if they differ by more than a few millimetres, the frame is racking.
Adjusting a hinge or planing a couple of millimetres off a door edge is a home job. A frame that's visibly out of square, or a door that's dropped because the hinge plate has torn out of soft timber, is not — that's when you ring someone.
Step seven: locks and storm security
Autumn is when sheds get opened by people who weren't invited. Check that the hasp is through solid timber rather than the thin cladding, that the screws are the security type, and that the padlock isn't so cheap that a pair of bolt croppers makes it decorative. If your shed has windows, make sure the glazing beads are sound — a rattling pane is an invitation.
Step eight: ties and wind
If your building is in an exposed spot, keep it weighed down rather than relying on its own mass. Ground anchors at the corners, or straps over the roof anchored to stakes, are worth the twenty minutes. Don't strap over the felt where it will chafe — use a batten under the strap.
Your order of work for the first wet weekend
Clear the gutters and move water away from the base. Patch or renail any lifted felt. Probe the bottom rails and note what you find. Add vents. Then, and only then, think about paint — because painting over damp timber simply locks the problem in.
Everything on that list is a morning's work with a brew in the middle. The jobs to hand over are the ones involving a whole failed roof panel, a rotten bottom rail, or a racked frame. Knowing the difference is what stops a small autumn nuisance becoming a spring replacement.